Improving NAS performance: essential hardware upgrades for faster file access and 10GbE
A Network Attached Storage (NAS) device is the cornerstone of modern digital life, serving as a centralized hub for backups, media streaming, and file sharing. However, as data demands skyrocket, especially with 4K/8K video editing and high-speed data transfer needs, that reliable NAS unit can quickly become a bottleneck. If you find yourself frustrated by slow file transfers or sluggish application responsiveness, it is time to look beyond software tweaks and consider targeted hardware upgrades. This guide delves into the most critical components you must address to unlock truly high-speed performance, focusing specifically on achieving maximum throughput, dramatically faster file access, and the successful implementation of a 10 Gigabit Ethernet (10GbE) environment.
The foundation of speed: Ram and processor upgrades
The core computational power of your NAS significantly impacts its ability to manage multiple simultaneous tasks, handle heavy indexing operations, and sustain high transfer rates, especially in advanced configurations like virtualization or Docker containers. While storage drives get the most attention, inadequate RAM and a weak CPU will throttle even the fastest SSD arrays.
- RAM (Random access memory) expansion: For basic home usage, 4GB to 8GB might suffice, but if you are running resource-intensive services (such as Plex transcoding, virtual machines, or extensive database synchronization), 16GB or even 32GB is often necessary. More RAM allows the NAS operating system (e.g., Synology DSM or QNAP QTS) to allocate larger cache blocks, significantly reducing latency and speeding up repeated file accesses. Look for compatible ECC (Error Correcting Code) RAM if your NAS supports it, as it offers enhanced data integrity.
- CPU (Central processing unit) considerations: Many entry-level NAS units use low-power, non-upgradeable CPUs. If your unit allows for a processor swap (typically in custom-built or higher-end tower models), upgrading to a chip with more cores and higher clock speeds (e.g., moving from an Intel Celeron to an Intel Core i3 or i5) will drastically improve overall system responsiveness, which is crucial when handling demanding workloads like real-time file encryption or simultaneous data streams across a 10GbE connection.
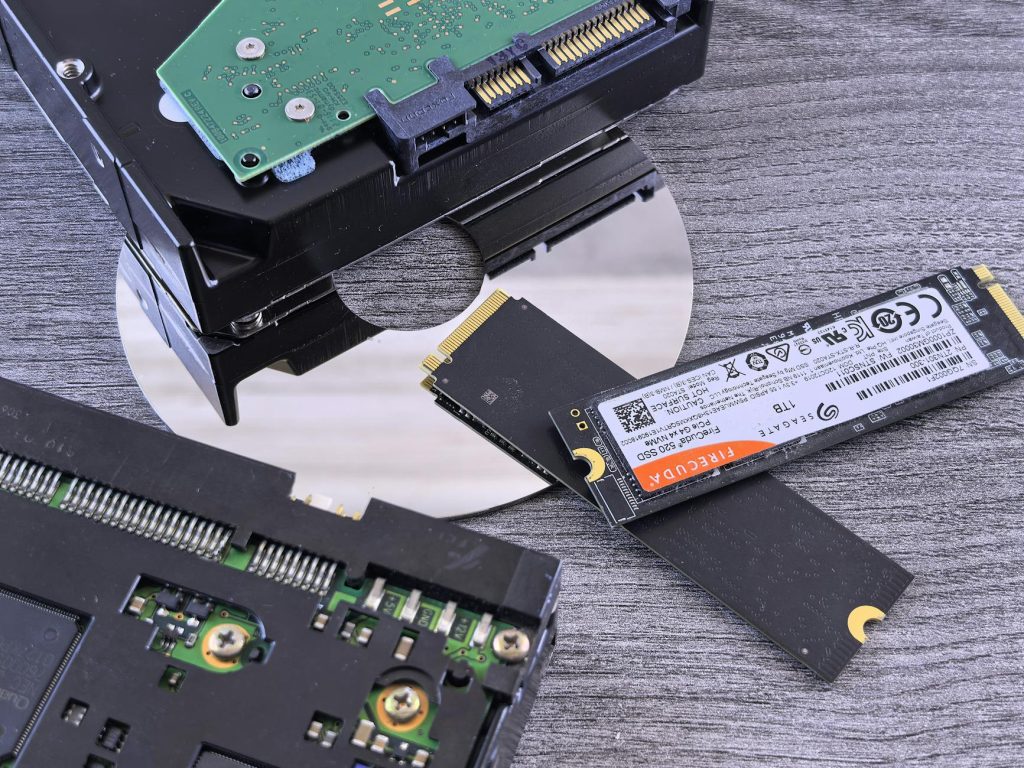
Upgrading storage: moving beyond hard disk drives (HDDs)
While HDDs offer unparalleled capacity per dollar, their inherent mechanical limitations (rotational latency) are the primary bottleneck in any high-performance scenario. To truly leverage high-speed networking, a mixed storage approach is essential.
A successful high-speed NAS relies on the strategic implementation of Solid State Drives (SSDs), primarily for caching and fast volume storage:
- SSD read/write cache acceleration: The most impactful upgrade for existing HDD-based arrays is adding dedicated SSDs (SATA or, ideally, NVMe) for caching. A read cache stores frequently accessed data, speeding up retrieval. A write cache temporarily holds incoming data before flushing it to the slower HDDs, which smooths out burst transfers and is essential for maintaining sustained 10GbE speeds. A general recommendation is to allocate at least 1TB of NVMe SSD storage for caching in a professional environment.
- NVMe storage pools: For workloads that demand absolute speed (e.g., hosting virtual machines, professional video editing scratch disks, or high-performance databases), create an entirely separate storage pool composed solely of high-end NVMe SSDs (if your NAS has M.2 slots). This bypasses the speed constraints of both HDDs and SATA SSDs, offering speeds that can fully saturate a 10GbE link.
- Choosing the right SSD type: Opt for SSDs designed for NAS or enterprise environments (high endurance/high TBW), as they handle the constant read/write cycles associated with caching much better than standard consumer drives.
The 10GbE transition: Network interface card (NIC) and switch
The jump from standard Gigabit Ethernet (1GbE) to 10 Gigabit Ethernet (10GbE) offers a ten-fold increase in theoretical throughput (from ~110 MB/s to ~1,250 MB/s). However, implementing this requires upgrading components both inside the NAS and within your network infrastructure.
Network card installation:
If your NAS does not come factory-equipped with 10GbE ports, you will need an expansion card. Ensure the following:
- PCIe compatibility: The NAS must have an available PCIe slot (typically Gen 2 or Gen 3, X4 or better) that is compatible with the 10GbE card.
- Form factor: Choose between SFP+ (fiber or DAC cables) or RJ45 (standard copper Ethernet cables). RJ45 is often easier for home/small office setups, but SFP+ offers lower latency and potentially longer reach, though it requires separate transceiver modules or Direct Attach Copper (DAC) cables.
Network switch upgrade:
A single 10GbE port on the NAS is useless without a 10GbE-capable switch connecting it to the client machines (workstations). You must invest in a multi-port 10GbE switch. Managed or unmanaged switches are available, but ensure the port configuration meets your needs (e.g., a minimum of three 10GbE ports: one for the NAS, one for the primary workstation, and one spare).
| Upgrade component | Primary benefit | Impact on 10GbE transfer |
|---|---|---|
| Increased RAM (e.g., 8GB to 32GB) | Larger system cache, better multi-tasking | Stabilizes sustained transfer speeds and reduces latency |
| NVMe SSD Cache | Accelerated read/write operations | Eliminates the “burst speed” bottleneck, allowing the NAS to sustain near-max 10GbE speeds |
| 10GbE NIC and Switch | Higher network bandwidth | Increases theoretical throughput from ~110 MB/s to ~1250 MB/s |
System configuration: ensuring the bottleneck is gone
Having the hardware in place is only half the battle; proper system configuration is crucial to ensure that the new components are utilized efficiently and that the 10GbE connection can operate at peak performance.
- Jumbo frames activation: On both the NAS and all connected client devices, enable Jumbo Frames (typically set to 9000 MTU). This allows the network interface to process larger data packets, reducing the CPU overhead for each transfer and significantly improving sustained network throughput over 10GbE connections.
- RAID level optimization: If using HDDs alongside an SSD cache, ensure your RAID configuration (e.g., RAID 5 or RAID 6) is optimized for performance and redundancy. For extreme speed where data recovery is less critical (like temporary scratch space), RAID 0 on an all-SSD volume offers the fastest performance.
- Client machine preparation: Remember that the bottleneck might shift to your workstation. To fully utilize 10GbE, the client machine also needs a 10GbE NIC and sufficiently fast local storage (an SSD) to handle the incoming data stream; writing massive files to a slow local HDD will immediately throttle the entire transfer.
Conclusion
Achieving dramatically improved NAS performance and successfully implementing a 10GbE network requires a holistic hardware approach, focusing on eliminating sequential bottlenecks. We have outlined that the first step is solidifying the computational base by ensuring adequate RAM and CPU resources to handle caching and system processes. The critical second step involves upgrading the storage subsystem, moving beyond the constraints of traditional HDDs by strategically integrating NVMe SSDs for high-speed caching and fast volume storage. Finally, the necessary networking infrastructure, consisting of a 10GbE NIC and a compatible switch, must be put in place and properly configured with settings like Jumbo Frames to unlock the maximum potential bandwidth. By executing these targeted upgrades, you can transform a sluggish storage device into a high-speed data powerhouse, capable of sustaining multi-gigabit transfers essential for modern professional and power-user workflows.
Image by: Brett Sayles
https://www.pexels.com/@brett-sayles