Create Custom Domain Name with GoDaddy
In my recent blog post we discussed about how to setup custom domain for blogger blog with Google Apps, an easy way to setup custom domain name for blogger blog. In this post i will explain all the steps to setup a new custom domain name with GoDaddy.
Buy a Domain Name from GoDaddy
Go to GoDaddy and search for a nice and meaningful domain name that suits your blog, this one is a crucial step for every blogger because they don’t get domain name for their wish because most of good and meaningful domain names are already registered by someone, and bloggers really unhappy when selecting the right domain name for their blog.

When you find the right domain name for your blog then proceed to checkout
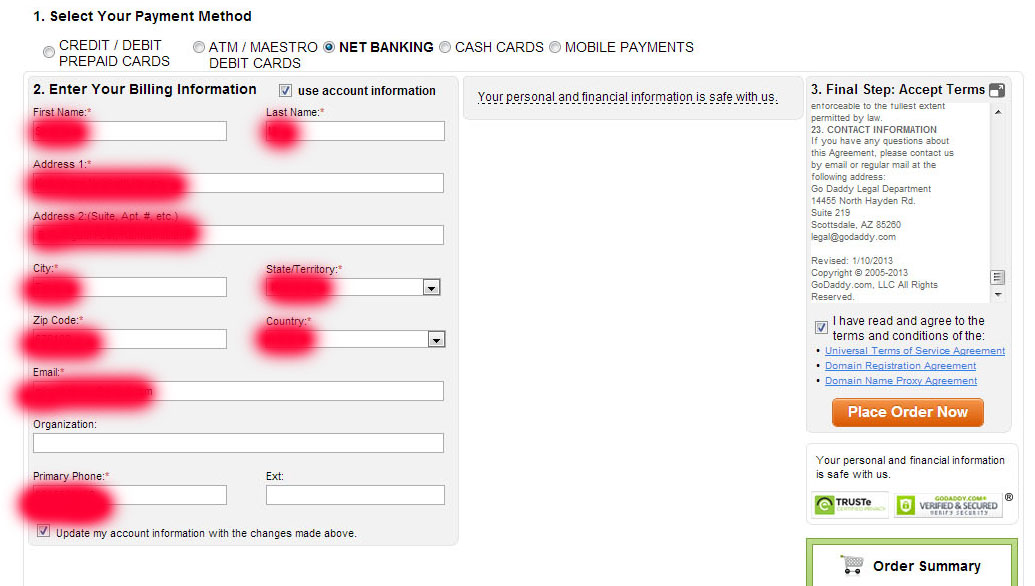
Fill all the details about you and your payment method and place your order.
Note : To change to a custom domain in blogger
you only need to buy a domain name, you don’t want to buy any hosting plans or space from the domain registrar.Connect your Domain name to your blogger blog
After the successful purchase of domain name you will get a C Panel (Control Panel in GoDaddy) for your domain, here you can manage your domain name

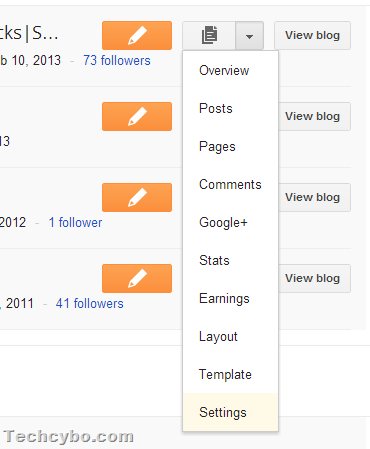
Step 1 : Go to Blogger Dashboard
Step 2 : Select your blog and click settings from the drop down list
Step 2 : Select your blog and click settings from the drop down list
Step 3 : Click Add a custom domain

Step 4 : Click Switch to advanced settings
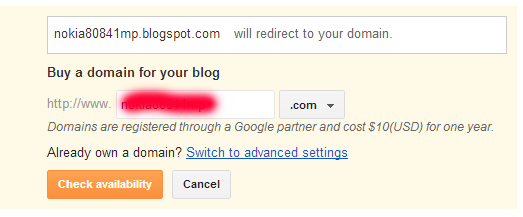
Step 5 : Enter your registered full domain name and click Settings Instructions
Step 6 : Click On a top-level domain
Do not close this tab because you will need this information’s to create two CNAME records and four A-records in your DNS Settings of your domain C-Panel

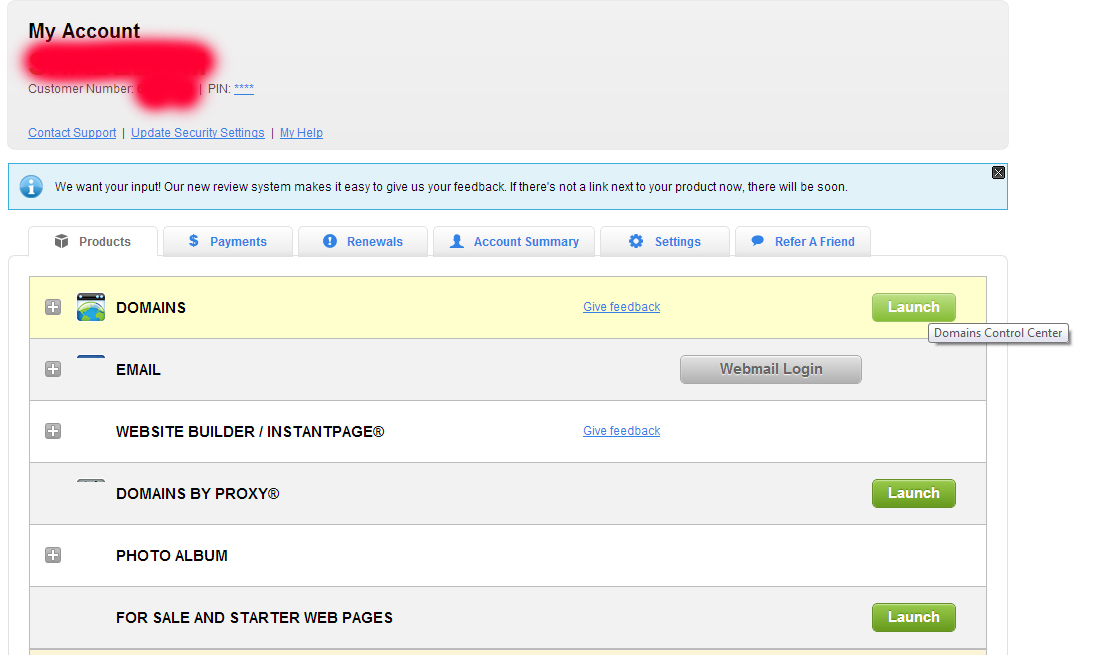
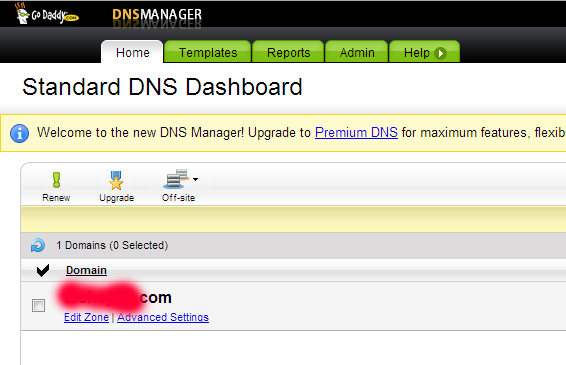
Step 7 : Go to Godaddy.com and sign in to your account and click My Account
Step 8 : Launch Domains control center
Step 9 : Click on your domain name and open the Domain manager
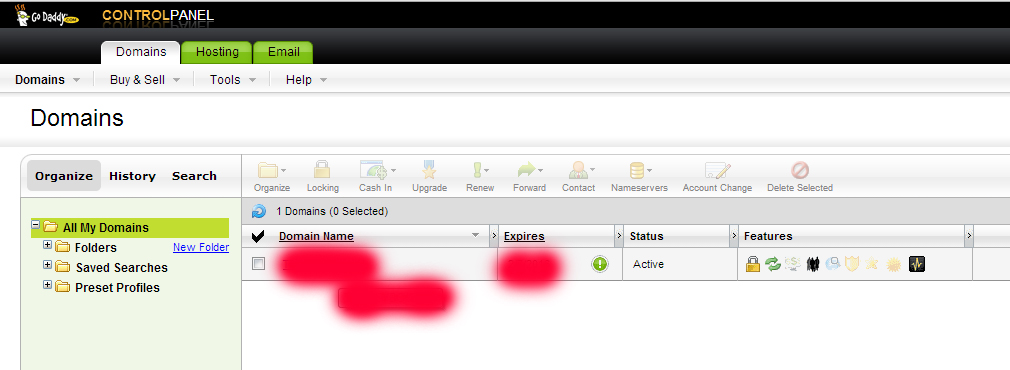
Step 10 : Open Tools -> DNS Manager
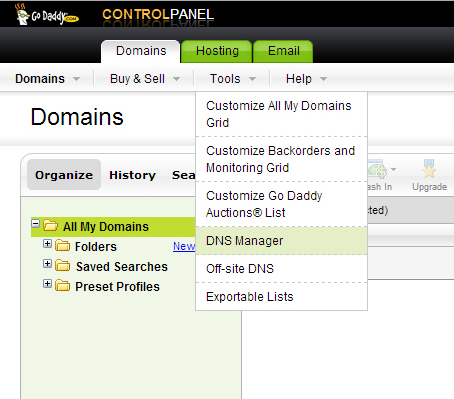
Step 11 : Click Edit Zone open Zone file editor
Step 11 : In CNAME Section Click Quick Add
In Host type www
In Points to type ghs.google.com
Click Save Zone file
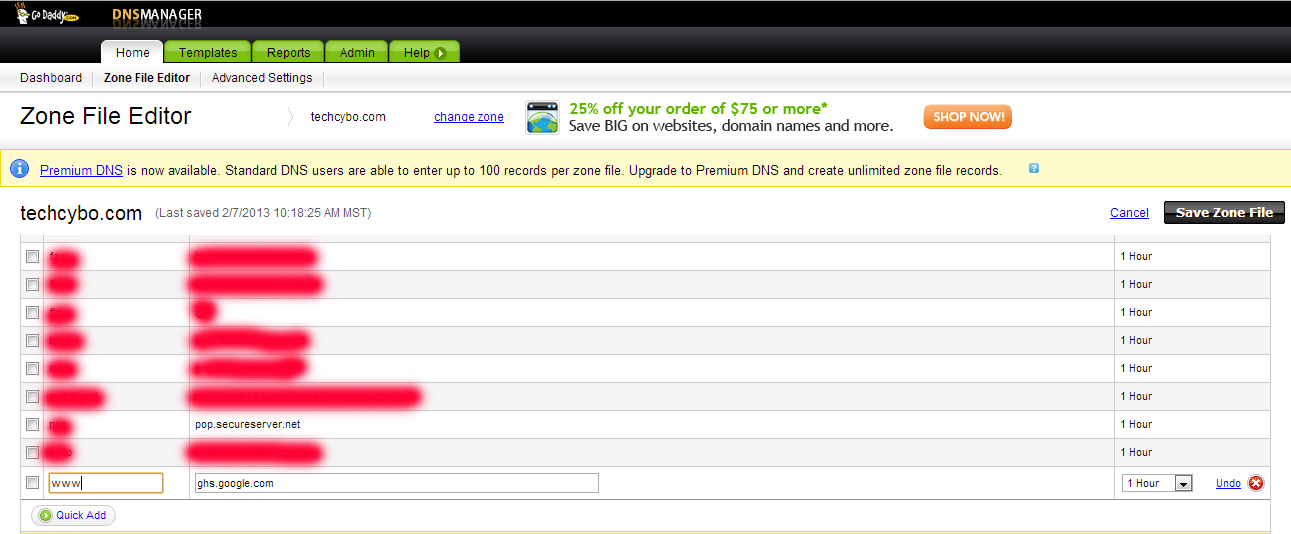
Step 12 : In this way you need to create another CNAME with parameters provided in Blogger Help (Step 6) , in this page you will see another CNAME informations,
Click Quick Add
In Host type the code provided by Google (Example: 9v9v98f5fg52g)
In Points to type the link provided by Google
(Example: gv-xxxxxxxxxxxxxxxxxxxxxxxx.domainverify.googlehosted.com)
Click Save Zone file

Step 13 : Create four A-records in the A(Host) section
This step is optional if you want to link your naked domain (without www) name to your actual domain name.
Example: if your user enter myblog.com this will redirects to your full domain name www.myblog.com, i strongly recommended to do this step because you don’t want to disturb your visitors with some errors.
Example: if your user enter myblog.com this will redirects to your full domain name www.myblog.com, i strongly recommended to do this step because you don’t want to disturb your visitors with some errors.
To create A-records go to A(Host) section and quick add four A-records with
Host Points to
@ 216.239.32.21
@ 216.239.34.21
@ 216.239.36.21
@ 216.239.38.21

Click Save Zone file
Now the DNS Part is over
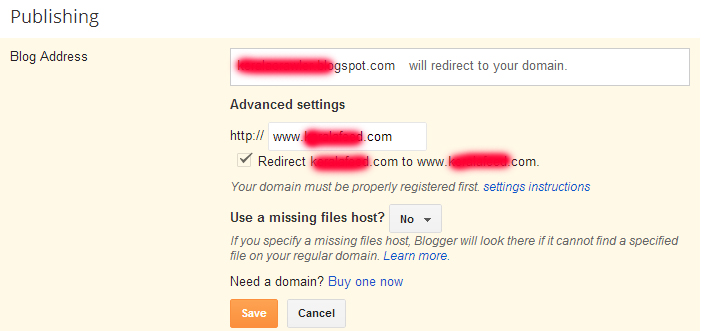
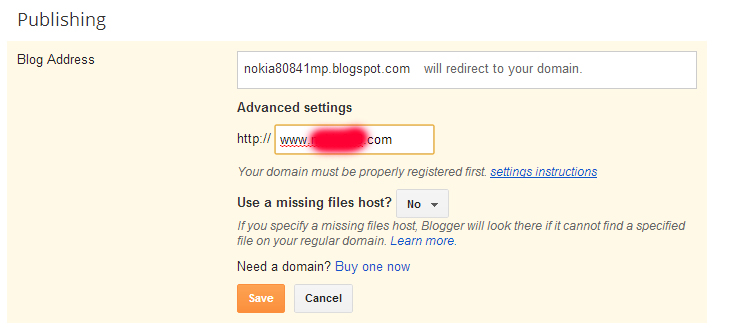
Step 14 : Now go to blogger dashboard and Select Settings
In Publishing section Click Add a custom domain and Click Switch to advanced settings
and enter your registered domain name (Example:www.myblog.com)
In Publishing section Click Add a custom domain and Click Switch to advanced settings
and enter your registered domain name (Example:www.myblog.com)
and click Save
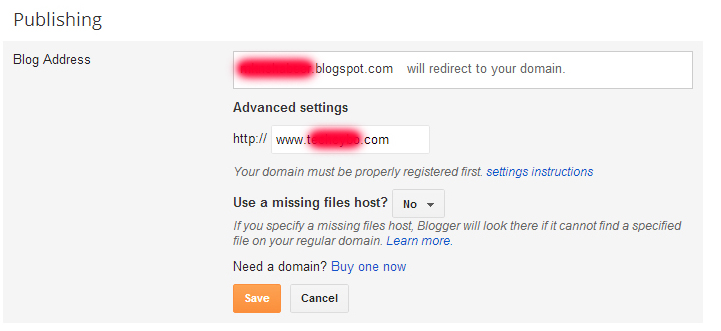
Note : Sometimes it takes 1 hour to update your DNS settings
Step 15 : To redirect your naked domain to your full domain name
Go to Settings and in publishing section click edit and tick the check box to redirect, click Save.
Go to Settings and in publishing section click edit and tick the check box to redirect, click Save.